How to Use Section and Element Presets
Presets let you create multiple versions of styling elements like headings, blockquotes, tables, and text conversations. You can use different styles for different sections or characters throughout your book.
What Are Presets?
Presets allow you to use multiple versions of styling elements in your book. Instead of being locked into one style for blockquotes or headings, you can create different versions and apply them wherever you need them.
You can create presets for:
- Section headings — Title style, subtitle style, and spacing
- Blockquotes
- Handwriting
- Tables
- Text conversations
- Headers and footers
- Footnotes (for print)
Preset Grouping
When you create a new preset, you can assign it to a group. Groups help you categorize related presets so they’re easy to find when you’re applying them throughout your book.
For example, imagine you have a character named Felix who appears in text conversations, blockquotes, and sections with a specific subtitle style. You could create presets for each of these elements and put them all in a group called “Felix.” Then, whenever you’re applying a preset in the editor, you’ll see “Felix” in your dropdown menu, making it easy to apply the right style without having to remember which preset is which.
Groups help you build a mental model of your styles. Some ideas for groups:
- Character names — Felix, Luna, Aristotle
- Section types — Front Matter, Back Matter, Appendix
- Moods or themes — Fancy, Minimal, Dramatic
There are no preset groups when you first start. You create them as you need them.
Override All Presets
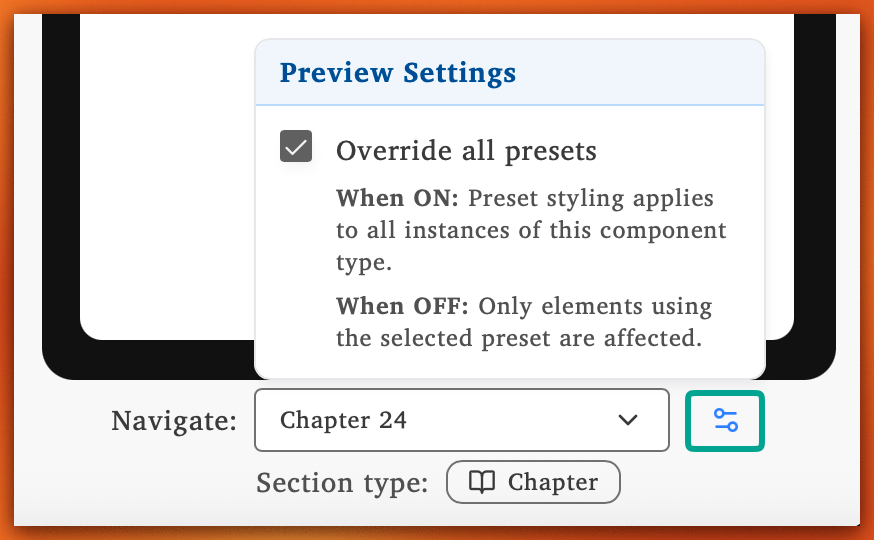
When editing presets in the Edit Styles page, you’ll see an Override all presets toggle in the bottom right-hand corner under your preview device. This controls how your changes are displayed as you work.
-
When ON (default): Any preset you change will visually apply to all elements of that type in the section you’re viewing. This always shows the preset you’re working on, regardless of what presets are actually assigned to each element.
-
When OFF: You’ll see a gray background behind elements that are using the current preset, and your changes will only affect those elements. This makes it clear exactly which elements will be affected.
Apply Presets to Sections
- Navigate to the section you want to style
- Open the section options menu
- Click Customize Section Style
- Select your preset choices:
- Title Style — Choose the preset for the section title
- Subtitle Style — Choose the preset for the subtitle
- Spacing — Choose the spacing preset
Apply Presets to Editor Elements
Every element that supports presets has a visible dropdown menu where you can select which preset to use.
- Click the element (blockquote, table, callout box, etc.) in your editor
- Open the preset dropdown menu for that element
- Select the preset you want to apply
Create New Presets
In the Edit Styles page, there are three dots next to every preset section.
- Click the three dots next to the preset section you want to add to
- Click Create New Preset
Preset Manager
The Preset Manager in the Edit Styles page helps you see where all your non-default presets are used throughout your book. You can quickly identify which sections are using presets and understand why certain styles appear the way they do. Think of it as a helpful tool that gives you a full overview of your entire project’s preset usage at a glance.